For a reliable first session in Way of the Hunter 2, choose one clear objective, use the game’s own signs and assistance to learn what is happening, and avoid treating old location tips as fixed rules. Nine Rocks Games describes the game as a combination of open-world free hunting and structured missions. Its Version 1.0 FAQ also explains that animal tracks can be created dynamically and that the dog can search signs, locate active life zones, and follow blood trails from wounded animals. This guide turns those confirmed features into a cautious starting routine; it does not promise a particular animal, weapon, or guaranteed harvest.
Start with one objective
Before leaving a lodge or opening a reserve, decide what a successful first outing means. If you want a defined task, choose a mission or objective. If you would rather explore at your own pace, use free hunt. The official FAQ describes both formats, so neither needs to be presented as the only correct way to play.
Keep that first goal narrow. You might explore a small area, learn how signs appear in your current settings, or practice using the dog’s search and tracking roles. Avoid adding an unverified checklist of exact coordinates, trophy targets, money routes, or “best” equipment. Those claims can depend on map, save, platform, and patch, and none is needed to understand the basic loop.
Treat the official FAQ as a dated source rather than a promise that every detail will stay unchanged. It covers Version 1.0, while later updates can revise the interface and gameplay. Check the in-game version and the developer’s current update notes before following any instruction that depends on a particular button, balance value, or patch behavior.
Follow signs instead of memorizing coordinates
The official FAQ says tracks are dynamically created between need zones. It also says spooked animals can create temporary dynamic tracks as they move. That is a useful reason to observe the world rather than assume that a route copied from another player will always lead to an animal at the same place and time.
When you find a sign, use it as information about movement, not as proof of a guaranteed encounter. Look for how the game labels the sign and whether the surrounding area gives you a sensible direction to investigate. The FAQ confirms that signs and tracks are part of the tracking system; it does not provide a universal route, a fixed spawn coordinate, or a guaranteed schedule for every species.
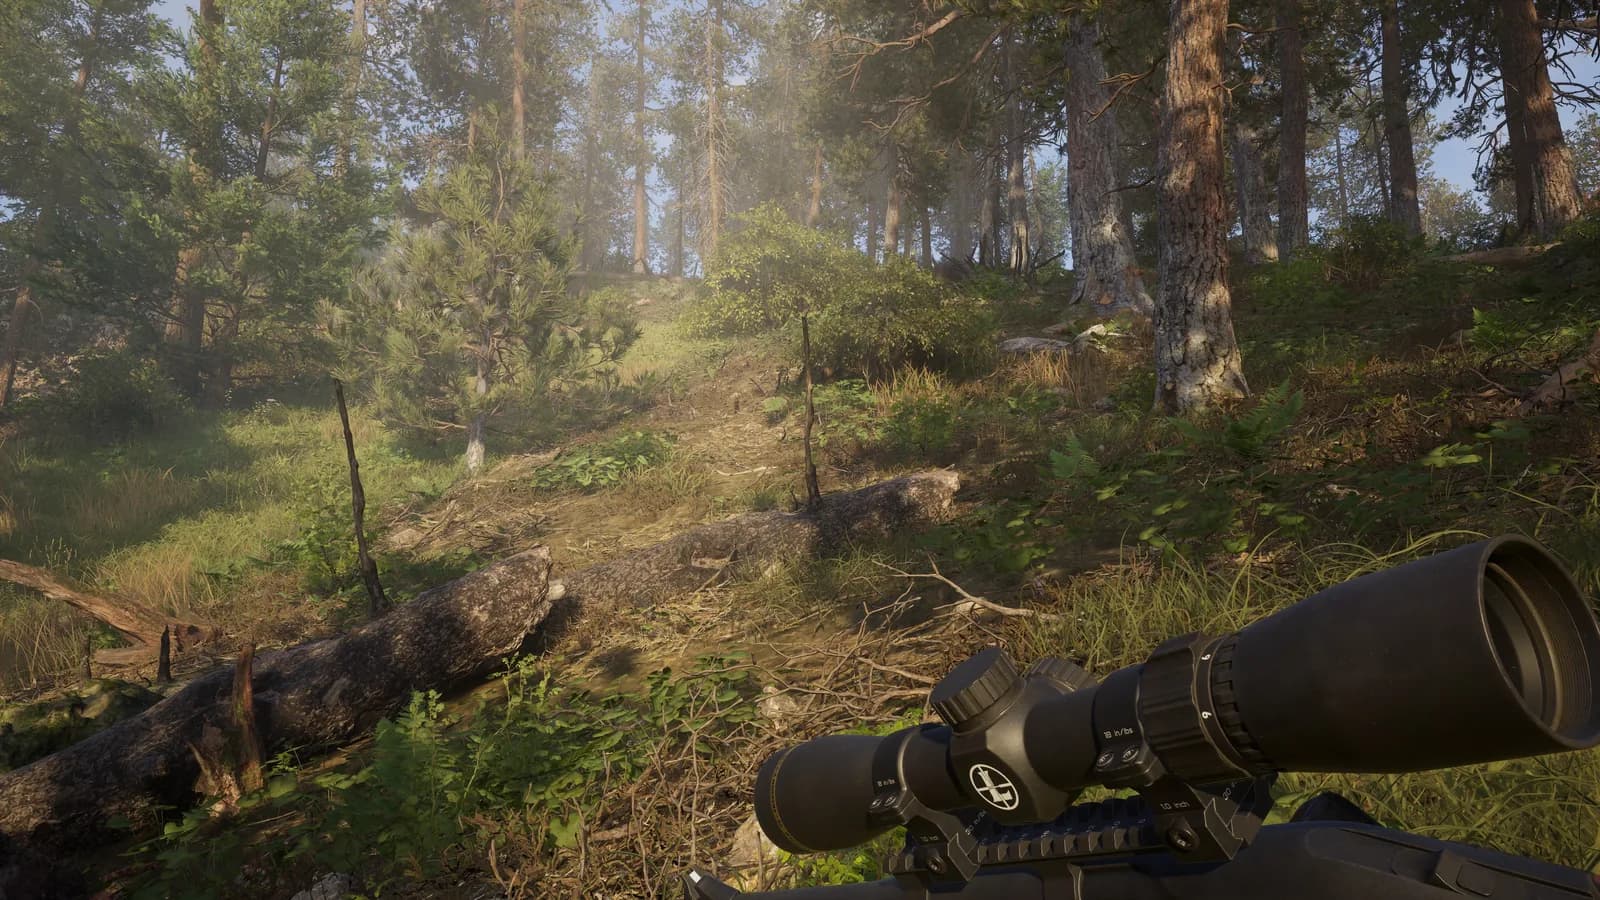
This distinction matters when you compare guides or videos. A clip can show one player’s map, animal population, settings, and build at a particular moment. It may still be useful for recognizing an interface or a type of clue, but a single recording is not enough to establish a permanent location. Prefer current official information for mechanics, and treat player routes as examples to test in your own session.
Give the dog a specific job
The Version 1.0 FAQ lists three practical jobs for the dog: searching for animal signs, helping locate active life zones, and tracking wounded animals by following blood trails. It also says the dog becomes more obedient and reliable through bonding and use. These are solid beginner expectations because they come from the developer’s published description rather than a caption-only interpretation.
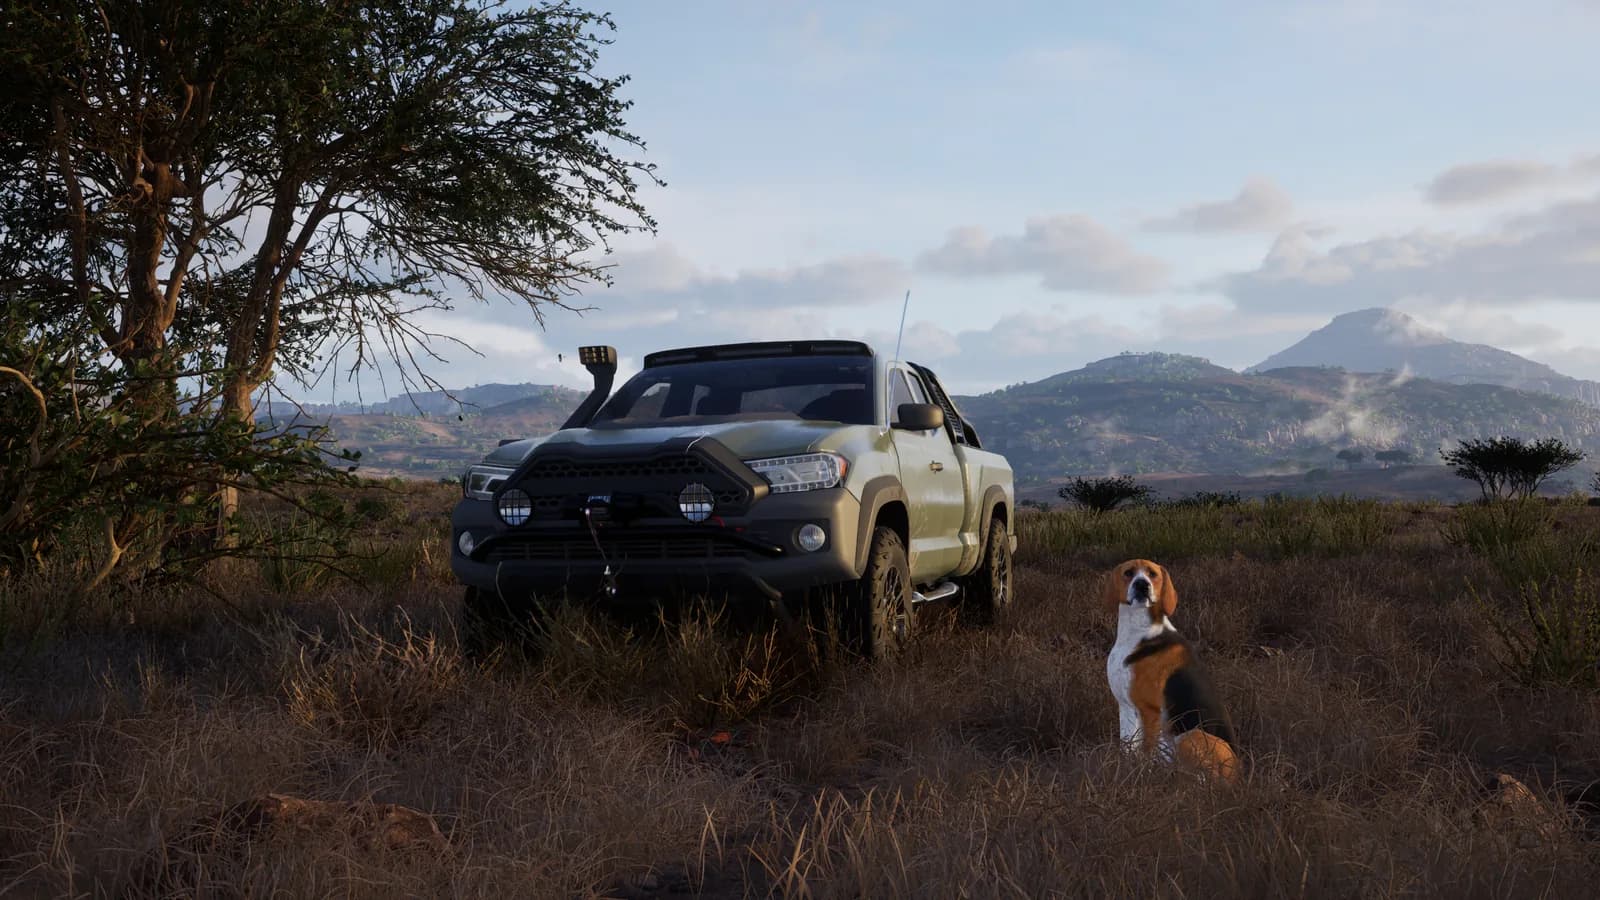
Use the companion when you know what you want help with. Ask it to search when you are looking for signs, or use its tracking role after an animal has been wounded. The dog is an aid to your reading of the trail, not a guarantee that every animal will be found or that every search will succeed. The FAQ does not specify a universal search radius, a fixed button for every platform, or a guaranteed result, so this guide does not invent those details.
For development background, Nine Rocks Games published a dog-companion developer diary in February 2026. It predates the full release and is not a current controls walkthrough.
If an older video shows a focus meter, a particular command menu, or a specific dog behavior, check the recording’s date and version before applying it. Early Access systems can change before and after Version 1.0. For current control names, use the bindings shown in your own game and compare them with the latest official information.
Adjust assistance at your own pace
The official FAQ says keyboard and mouse controls can be customized, while controller layouts are not customizable in Version 1.0. It also says players can adjust the crosshair and Hunter Assist, including individual information elements, or disable Hunter Assist. A high-contrast setting for animal signs and tracks is listed as available at 1.0 as well.
For a first outing, there is no need to choose between “everything on” and “everything off.” Start with the settings that make signs and feedback readable to you. Change one option at a time so you can tell what changed. If an on-screen cue is unfamiliar, check its label and the current control menu instead of copying a key from a PC video when you play with a controller, or vice versa.
Assistance settings are preferences, not proof that a shot or track will behave a certain way. This guide avoids promising a particular point of impact, damage result, or harvest score from a HUD option. Those are more specific claims and should be confirmed against the current game build before they appear in a step-by-step recommendation.
Keep evidence and version separate
Way of the Hunter 2 had an Early Access period before its full Version 1.0 release. An older recording may accurately show what happened in that build while no longer describing the current interface or behavior. The supplied captions include both Early Access material and clips that discuss the full release; they also contain uncertain place names and player speculation. For that reason, this first-hunt guide uses the official FAQ for its mechanics and does not turn any unverified caption into a current fact.
When you see a specific claim elsewhere, ask three questions: which build was recorded, which platform was used, and whether the clip shows the feature itself or only the player’s interpretation. Then compare it with an official FAQ or patch note. If those sources do not settle a detail, leave it open rather than filling the gap with an exact animal location, weapon ranking, control binding, or “best” method.
A cautious first-hunt routine
Use this short loop for your first session:
- Choose either a structured mission or open-world free hunt, and set one modest objective.
- Read the signs and track labels that the current game presents; treat them as clues rather than fixed coordinates.
- Adjust Hunter Assist, contrast, and controls only if you need to make the available information easier to read.
- Use the dog to search for signs or locate an active life zone. If an animal is wounded, use its blood-trail tracking role.
- Check your result in the current game, then note the platform and version before relying on the same detail again.
The point is not to follow a perfect route. It is to build a repeatable habit: pick a goal, read what the game actually shows, use the companion for its documented roles, and keep patch-sensitive claims dated. As the guide library grows, maps, species locations, weapon comparisons, and troubleshooting advice will need their own evidence and version checks rather than being inferred from one successful hunt.
Sources
- Way of the Hunter 2: FAQ — Nine Rocks Games (Version 1.0 facts reviewed 2026-10-16)
- Update 1.3 — Nine Rocks Games (official update reference; check for later notes before following version-sensitive advice)
- A True Hunting Companion — Nine Rocks Games (February 2026 developer-diary context; not used as current-version mechanics evidence)